Carpet & Flooring
Carpet Tile Installation: Step-by-Step Guide
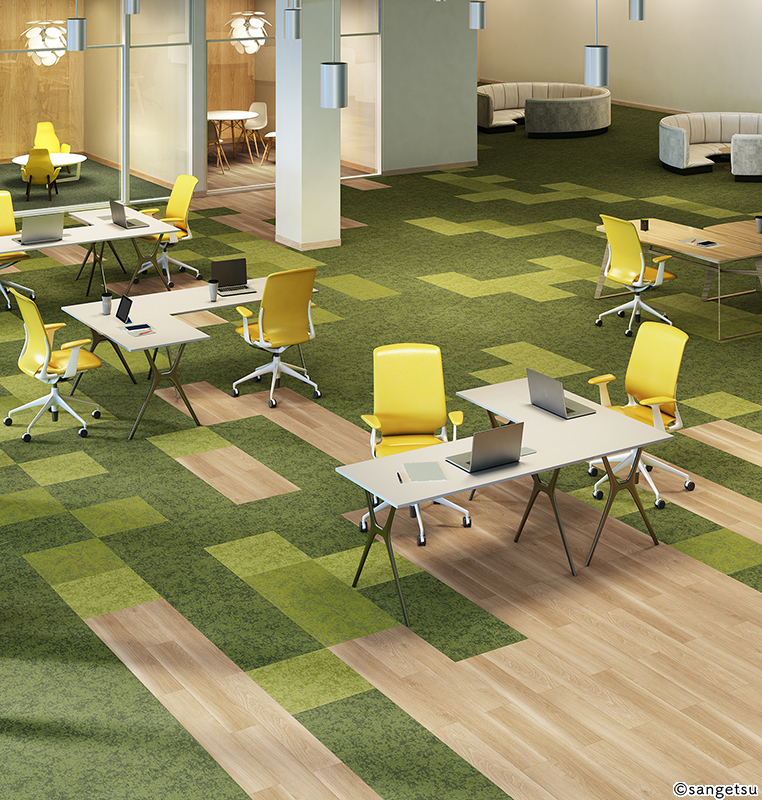
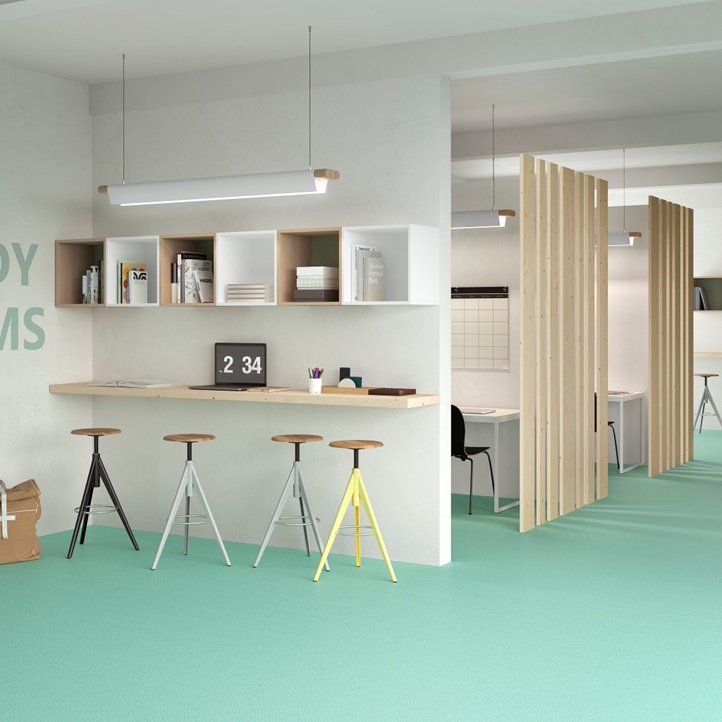
A carpet tile installation guide helps ensure your project delivers a professional finish with lasting performance. Carpet tiles are one of the most practical flooring solutions for Singapore offices, retail spaces, and residential rooms — and with proper preparation and technique, installation can be completed efficiently without specialist equipment.
This step-by-step guide walks through the complete installation process, from subfloor preparation to finishing touches.
Before You Begin: Tools and Materials
Gather the following tools and materials before starting the installation. Having everything on hand avoids interruptions and ensures a smooth workflow.
- Carpet tiles (plus 5–10% extra for cuts and spares)
- Pressure-sensitive adhesive or self-adhesive tiles
- Chalk line or laser level
- Measuring tape
- Utility knife with spare blades
- Straight edge or metal ruler
- Notched trowel (for adhesive application)
- Knee pads
- Pencil or marker
For commercial installations covering large floor areas, consider a heavy roller to press tiles firmly into the adhesive after laying. This ensures consistent bond strength across the entire surface.
Step 1: Prepare the Subfloor
The subfloor is the foundation of your installation. Any issues here will affect the final appearance and longevity of the carpet tiles.
Clean the Surface
Remove all dust, debris, grease, and adhesive residue from the subfloor. Sweep thoroughly, then vacuum or mop to ensure a completely clean surface. Adhesive will not bond properly to a dirty or dusty subfloor.
Check for Levelness
Use a straight edge or spirit level to check the subfloor for high spots and dips. Carpet tiles require a flatness tolerance of approximately 3 mm over 3 metres. If the subfloor exceeds this tolerance, use self-levelling compound to correct the surface before proceeding.
Check Moisture Levels
In Singapore, where humidity is consistently high, subfloor moisture can be a concern — particularly in newly constructed spaces or ground-floor units. Use a moisture meter to check the subfloor. If moisture levels exceed the adhesive manufacturer’s recommendations, apply a moisture barrier or DPM (damp-proof membrane) before installation.
Remove Existing Floor Coverings
Carpet tiles can be installed over existing hard flooring (tiles, vinyl, concrete) provided the surface is clean, level, and firmly bonded. However, do not install carpet tiles over existing carpet, underlay, or any loose flooring material.
Step 2: Plan the Layout
A well-planned layout ensures the finished floor looks balanced and professional, with even tile cuts at the room edges.
Find the Centre Point
Measure the length and width of the room. Mark the centre point of each wall and snap chalk lines between opposite walls to create a cross at the room’s centre. These lines serve as your starting guides.
Dry Lay a Test Row
Without adhesive, lay a row of tiles along each chalk line from the centre to the nearest wall. Check the width of the cut tile that will be needed at each wall edge. If the edge tile would be less than half the width of a full tile, shift the centre line by half a tile width. This avoids narrow, unsightly slivers at the room perimeter.
Check for Square
Verify that the chalk lines meet at a perfect 90-degree angle using a large set square or the 3-4-5 triangle method. Starting from lines that are not square will produce increasingly misaligned tiles as the installation progresses.
Step 3: Apply Adhesive
For installations using pressure-sensitive adhesive (the most common method for carpet tiles), apply the adhesive with a notched trowel to one quadrant of the room at a time.
Spread the adhesive evenly, following the manufacturer’s recommended coverage rate. Allow the adhesive to become tacky before placing tiles — this typically takes 30–60 minutes in Singapore’s warm climate, though humidity can affect drying times. The adhesive should feel sticky to the touch but should not transfer to your finger.
Self-adhesive carpet tiles (with adhesive pre-applied to the backing) skip this step entirely. Simply peel and stick — though subfloor cleanliness is even more critical with self-adhesive products.
Step 4: Lay the Carpet Tiles
Begin at the centre point where your chalk lines intersect. Place the first tile precisely in one quadrant, aligning two edges with the chalk lines.
Laying Pattern
Check the directional arrows on the back of each tile. These arrows indicate the pile direction and determine the laying pattern.
- Monolithic: All arrows point the same direction. Creates a uniform, seamless appearance.
- Quarter-turn: Each adjacent tile is rotated 90 degrees. Creates a subtle checkerboard effect and hides slight colour variations between tiles.
- Brick-bond: Tiles are offset by half, like brickwork. Creates a linear pattern that works well in corridors and elongated spaces.
- Ashlar: Tiles are offset by one-third. A more subtle version of brick-bond.
Work outward from the centre in each quadrant, pressing each tile firmly into the adhesive and butting edges tightly against adjacent tiles. Avoid sliding tiles into position, as this displaces adhesive and can create gaps.
Step 5: Cut Edge Tiles
When you reach the room perimeter, you will need to cut tiles to fit.
Place a full tile exactly on top of the last full tile in the row. Place a second tile on top of this one, sliding it until it butts against the wall. Using the edge of the top tile as a guide, mark a cutting line on the middle tile. Cut along this line with a sharp utility knife and a straight edge. The cut piece will fit precisely into the gap between the last full tile and the wall.
For cuts around columns, door frames, and irregular shapes, create a cardboard template first, then transfer the shape to the carpet tile before cutting.
Always cut from the back of the tile. This produces a cleaner edge and preserves the pile surface.
Step 6: Finishing Touches
Once all tiles are laid, complete the following finishing steps.
- Roll the floor: For adhesive installations, use a heavy roller across the entire surface to ensure consistent bond between tiles and subfloor.
- Install transition strips: Where the carpet tiles meet different flooring materials at doorways, install appropriate transition strips for a clean, safe junction.
- Check for gaps: Walk the entire floor and push together any tiles that have shifted slightly during installation. Small gaps will become dirt traps if left uncorrected.
- Clean up: Vacuum the completed surface to remove any loose fibres and cutting debris.
Explore Goodrich Global’s carpet tile range for commercial and residential options available in Singapore.
Final Thoughts
Carpet tile installation is a methodical process that rewards careful preparation and precise execution. By investing time in subfloor preparation, accurate layout planning, and clean cutting technique, you achieve a professional result that performs well and looks impressive. Whether you are fitting out a new office or refreshing a bedroom, carpet tiles offer a versatile, maintainable flooring solution that suits Singapore’s diverse interior needs.
Get a free quote for your carpet tile project — our team can advise on product selection, quantities, and professional installation services.